Winter is a BEAST in Winnipeg. It’s one thing to survive the winter, and it’s another thing to have kids depend on you to survive it too.
Coming from tropical Jamaica and pacific Hawaii, we had no training whatsoever. Actually, let’s be honest, even our New York winter experiences don’t even match because NOWHERE compares.
So when you’re trying to figure out how to layer kids and dress them appropriately, you need details.
Problem is that to someone who’s lived here a long time or has even been through one Winnipeg winter, it’s hard to imagine how detailed you need to be for a newcomer.
We asked family, friends, people-watched everyone, who walked by our apartment and then we just flat out experimented. The boys told us if they were cold, too hot, and we readjusted until we found a “layering process” that worked for us.
*Put a link to specific items. *want specific recommendations? Check out our list here
Because I LOATHE going to recipe sites and having to read through the journey that led to the recipe, I’m just going to come right out with the details and then we can share more of the background later.
The Details
First Layer: Shirt + Legwarmers + Socks (Closest to the Skin)
Purpose: Wick away moisture
Wear it: Very fitted and close to the skin
This is the base layer. There are so many websites with base layers for your little one, and the investment can be steep, especially if you have more than one child plus the cost of moving. So here’s my recommendation: if you can afford to, do it. If you can’t, there’s no shame in that. We opted not to purchase base layer sets and mixed and matched more affordable pieces that we could have several of. The important thing to remember is to make sure the material is NOT COTTON. Ideally, you want WOOl.
Key! Put on socks before you put on pants. This will help to keep those leg warmers in place, especially for any of your more sensitive kids who can’t handle clothes being bunched up.
** If you are going for a more dressed-up look, switch round neck shirts for polo shirts or button-down shirts with a collar.
Second Layer: Sweater + Pants (The Insulation)
Purpose: Insulation
Wear it: Close to the body, but not restricting movement.
You select items for this step depending on how cold it is. For example, when it’s slightly cold (0/ -10), we put on lighter sweaters, versus when it’s freezing (-19), it’s thick fleece or wool sweaters.
Key! Show your little one how to hold on to the end of their first shirt sleeve (if it’s long sleeve) while putting on the sweater. This will keep the sleeves from rolling up.
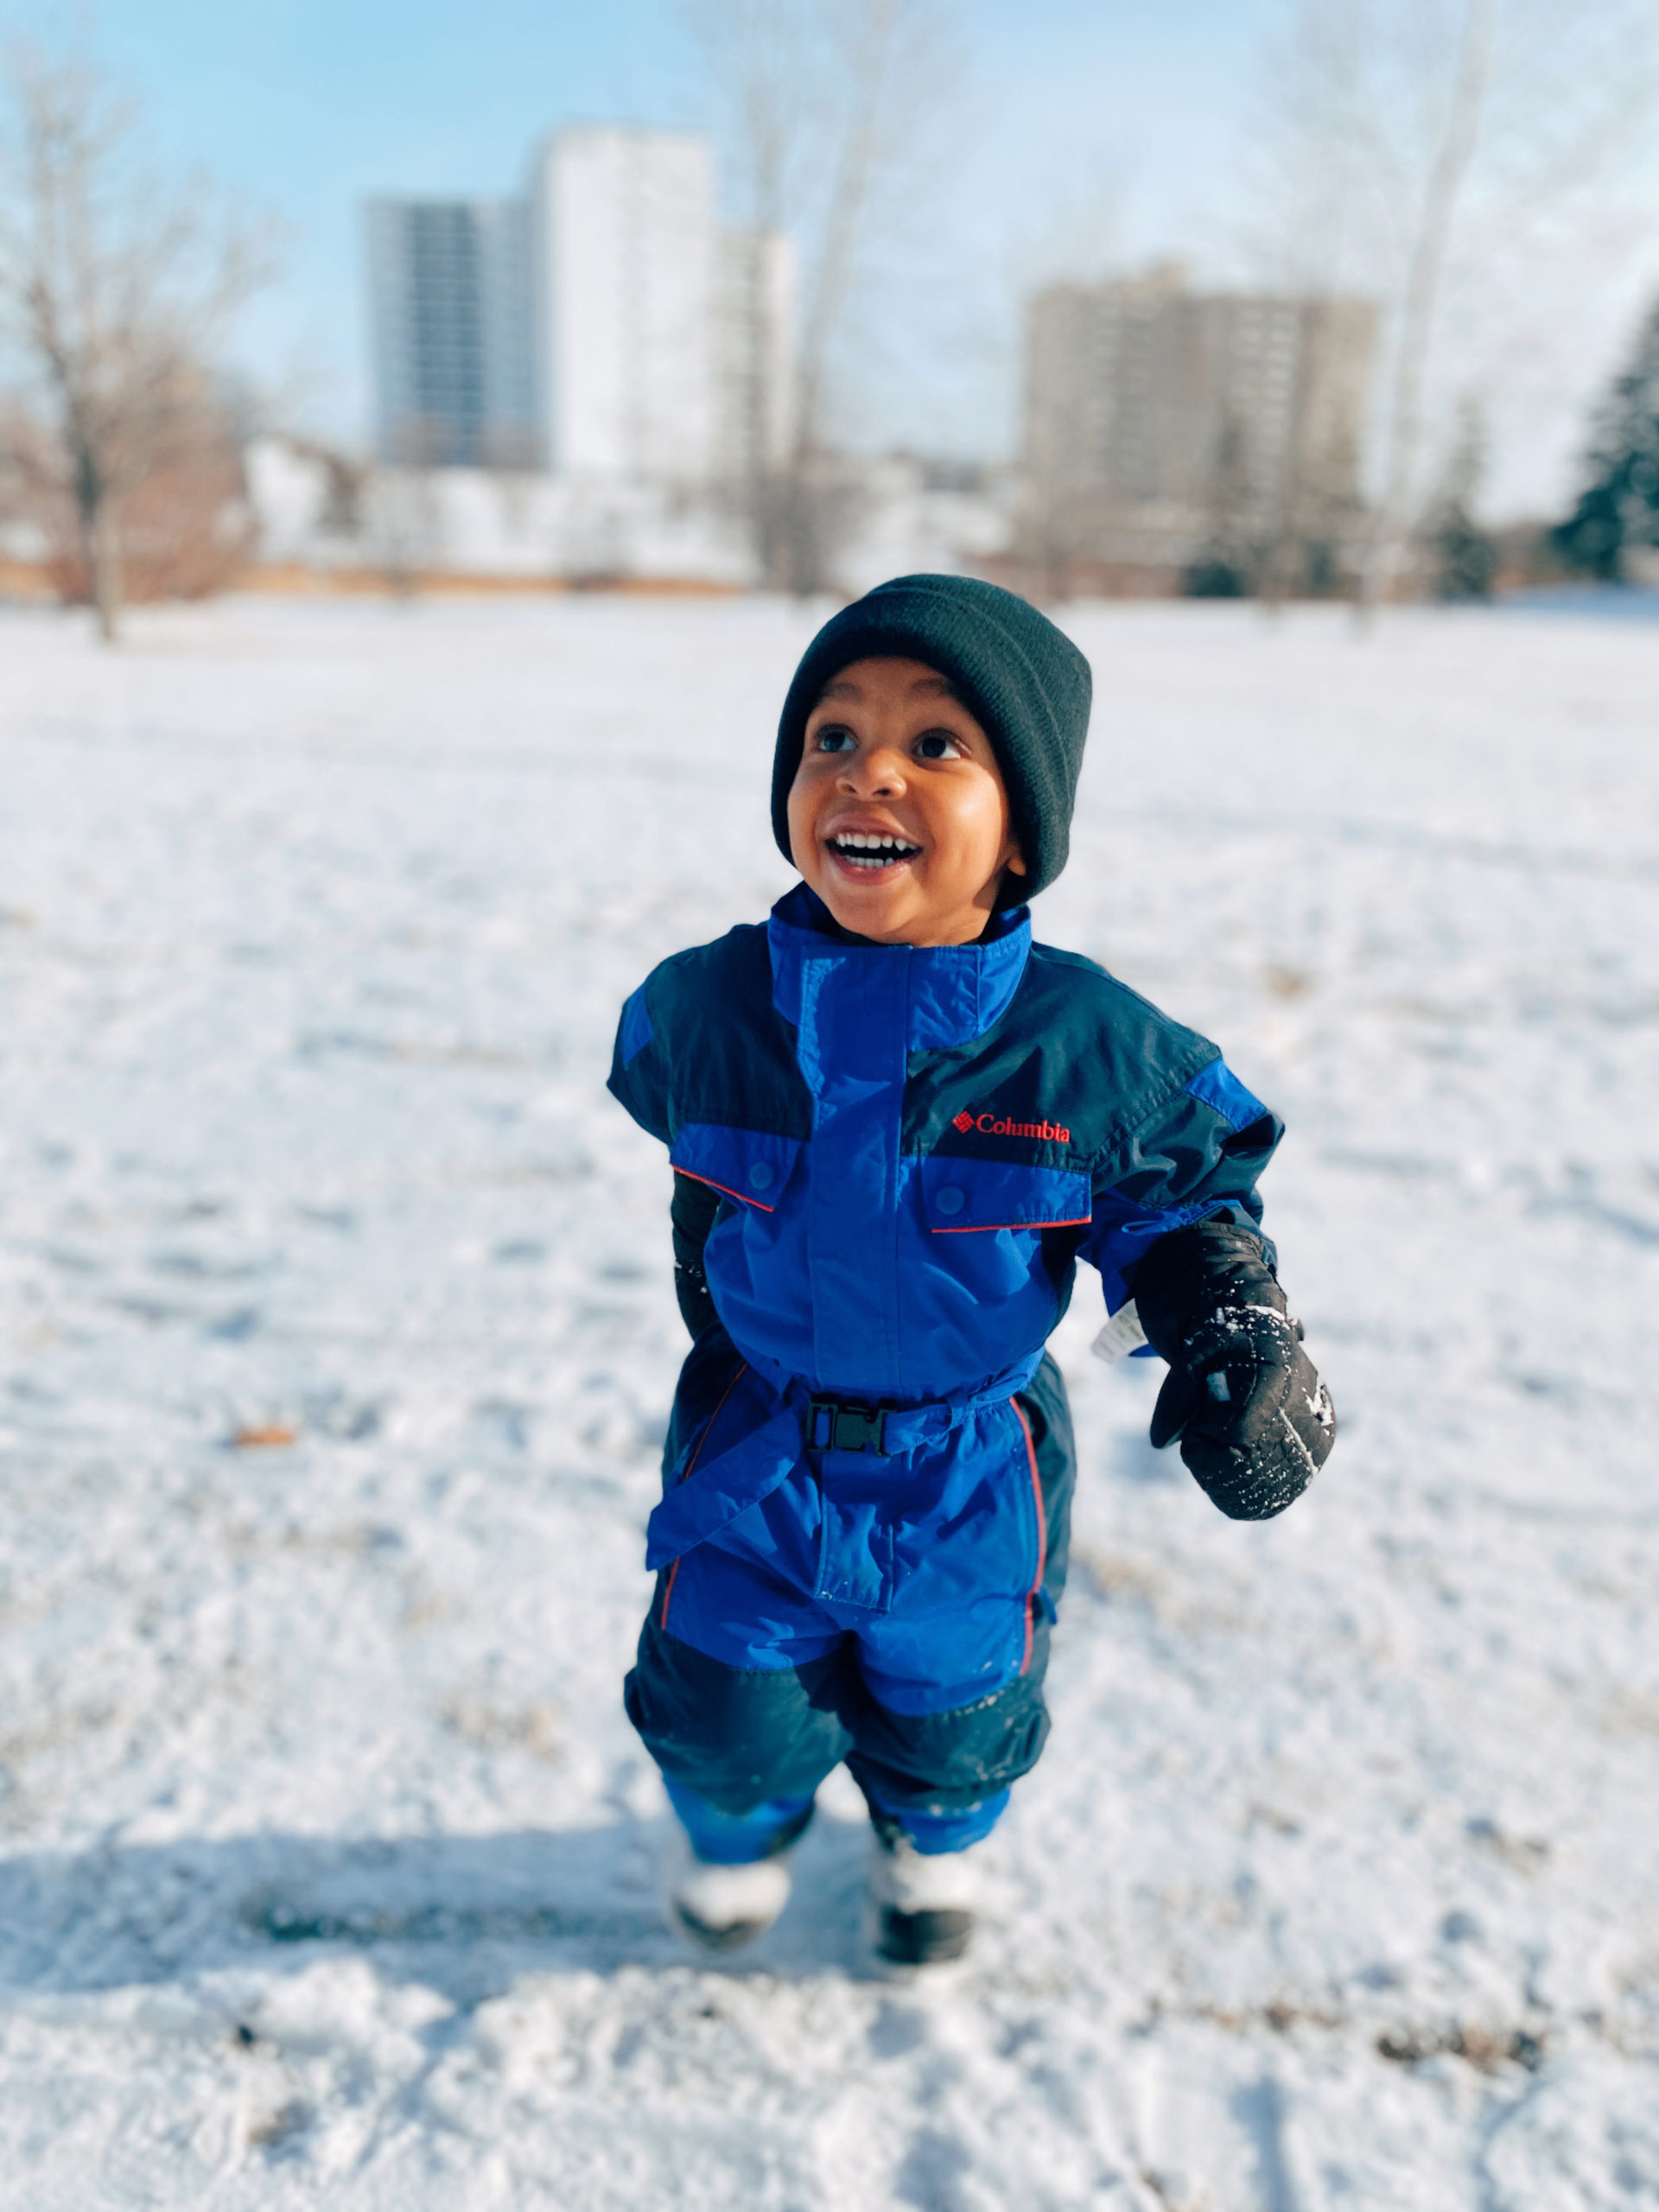
Third Layer: Snowsuit (Outward Protection)
Purpose: Protection from the wind and moisture
Wear it: Loose so there is room for all those layers and to still allow for easy movement.
This step is for the warm and waterproof jacket/pants or suit shell. We used a onesie shell when our younger son was below 2, but now both boys wear jacket/pants suits.
* Gloves inside or outside the jacket? We still don’t know. We’ve done both. We’ve done inside the jacket when they were getting used to keeping it on, and we didn’t want them having access to take it off. Now we just put it one after the jacket. They got snow in them either way. We just shake it out and put it back on.
Get the layering right, and you’ll have happy kids outside who won’t want to stop playing in the snow.
Why Layer?
The biggest reason for layering is the added benefit of removing layers when kids get too warm.
Layers allow air pockets between clothing to help trap heat and keep kids warm. Not enough layers, and you have a cold child. Too many, and they sweat, which is equally bad.
Key! Put babies and children in one more layer of clothing than an adult would wear in the same conditions. Remember, the quality and quantity of your layers DO matter too.
In Part 2, I share places we get winter gear for toddlers in Winnipeg.